Minimum inputs
- A simple prompt or one clear reference image
- A slicer such as Bambu Studio
- A basic sense of your target print size
- Enough patience to reject weak generations quickly
Workflow Page
This is the practical workflow that makes Meshy make sense: idea in, model out, slicer check, and a real yes-or-no decision before filament gets involved.
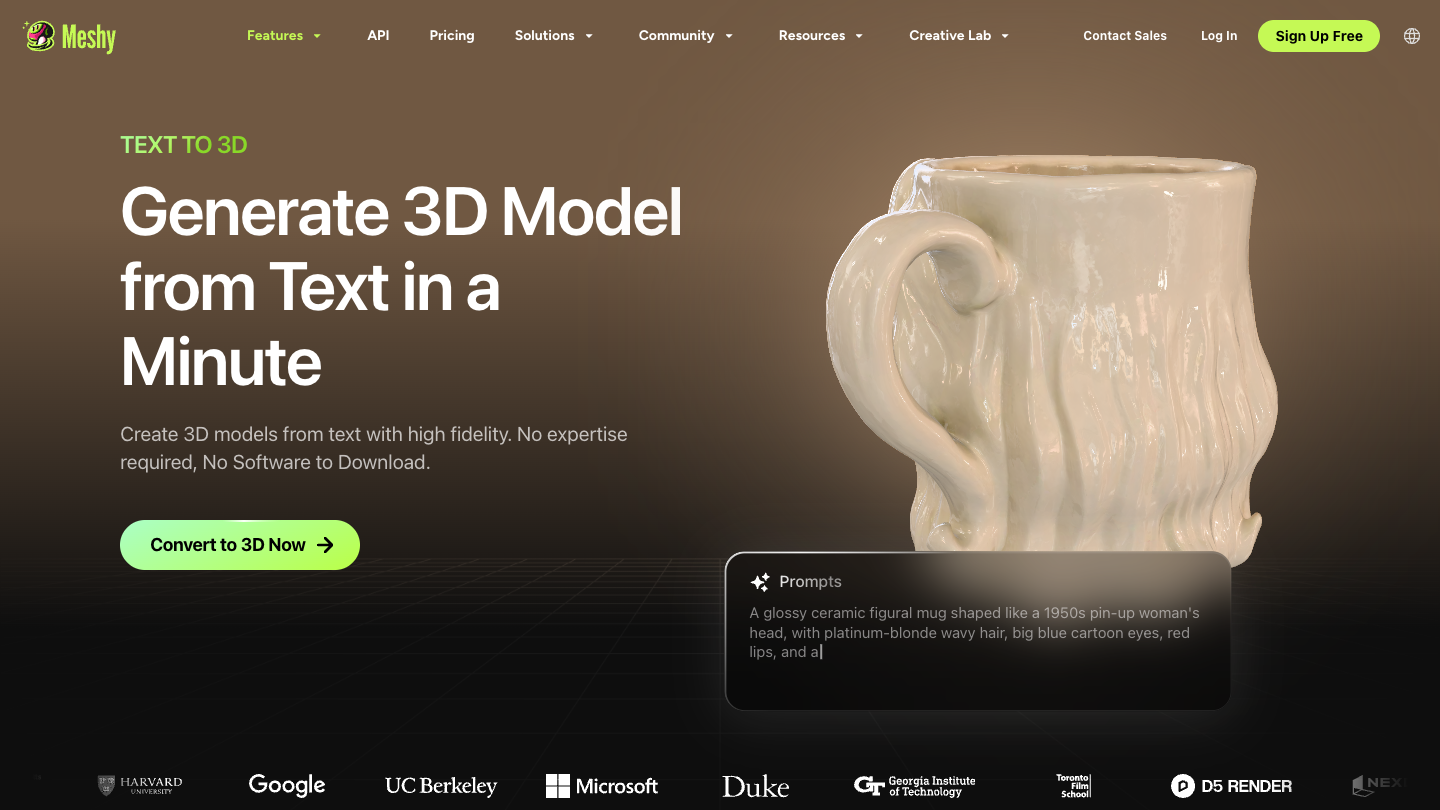
To evaluate Meshy for hobby 3D printing, start with a representative prompt or reference image, export a candidate your plan allows, and inspect it in your normal slicer. Check geometry, scale, supports, and print readiness before deciding whether to repair, regenerate, or pay for more capacity.
For many hobby users, printing is not the slow part. Starting is. The friction comes from not finding the right model, not knowing where to begin, or realizing the thing you want does not really exist in the form you need.
The scenario here is a small real-world project: a dice tower, storage tray, ruined wall, cable holder, or another print idea that is specific enough to be annoying to search for but simple enough to judge inside a slicer.
Use an object and difficulty level that match the work you actually plan to do. Record the prompt or reference image so you can repeat the test.
Use Meshy's documented text-to-3D or image-to-3D path. Keep the input and settings with the result instead of treating the preview as proof of quality.
Bring the chosen output into Bambu Studio or your normal slicer. This is the real checkpoint, because the slicer will reveal whether the model deserves your time.
Check wall thickness, base stability, overhangs, support burden, and any geometry that looks likely to fail on the printer or during cleanup.
Note whether the candidate is acceptable, repairable, or rejected. Track the reason and any cleanup time so future plan and product decisions use measured evidence.
Proceed only when the file passes the same checks you apply to any other model. A generated preview is not a substitute for slicer inspection or engineering judgment.
The result of this process is a recorded yes, repair, or reject decision. This site has not run that test, so it does not claim a success rate or time saving.
Official feature and export documentation cannot establish wall thickness, disconnected geometry, tolerances, support burden, or print success for a specific output. Those require inspection of the exported file.
A person still has to decide whether the model looks trustworthy enough to slice, support, and print. That is the non-negotiable review point in this workflow.
Look at pricing once this workflow becomes repeatable enough that more credits would clearly create more useful outputs. Look at alternatives when the workflow itself feels wrong, especially if you need higher-end API features, more volume, or more precise manual control.
Go to pricing Compare alternativesMeshy's documentation supports text prompts and reference-image workflows. Start with concrete representative inputs, then judge the resulting geometry and exports instead of assuming a prompt style guarantees quality.
No. The basic workflow here is Meshy plus your slicer. Blender only becomes useful when you want more control before the model reaches the printer.
It is good enough when it survives your normal quality checks: wall thickness, base stability, overhangs, and support cleanup all look reasonable inside the slicer.
Check wall thickness, disconnected geometry, base stability, overhangs, scale, and support burden in your slicer. This page does not claim how often Meshy outputs pass those checks.
Think about pricing once this process becomes repeatable. If you only occasionally land on usable outputs, the workflow is not stable enough to justify a paid plan yet.
Compare alternatives when your biggest problem is not the idea stage but output quality, higher concurrency, or stronger digital-asset controls.