Required
- A Meshy account
- One simple prompt or a clear reference image
- Bambu Studio or another slicer
- A target object small enough to judge quickly
Tutorial Page
One task, one path, one quality check. This page is intentionally narrower than the review.
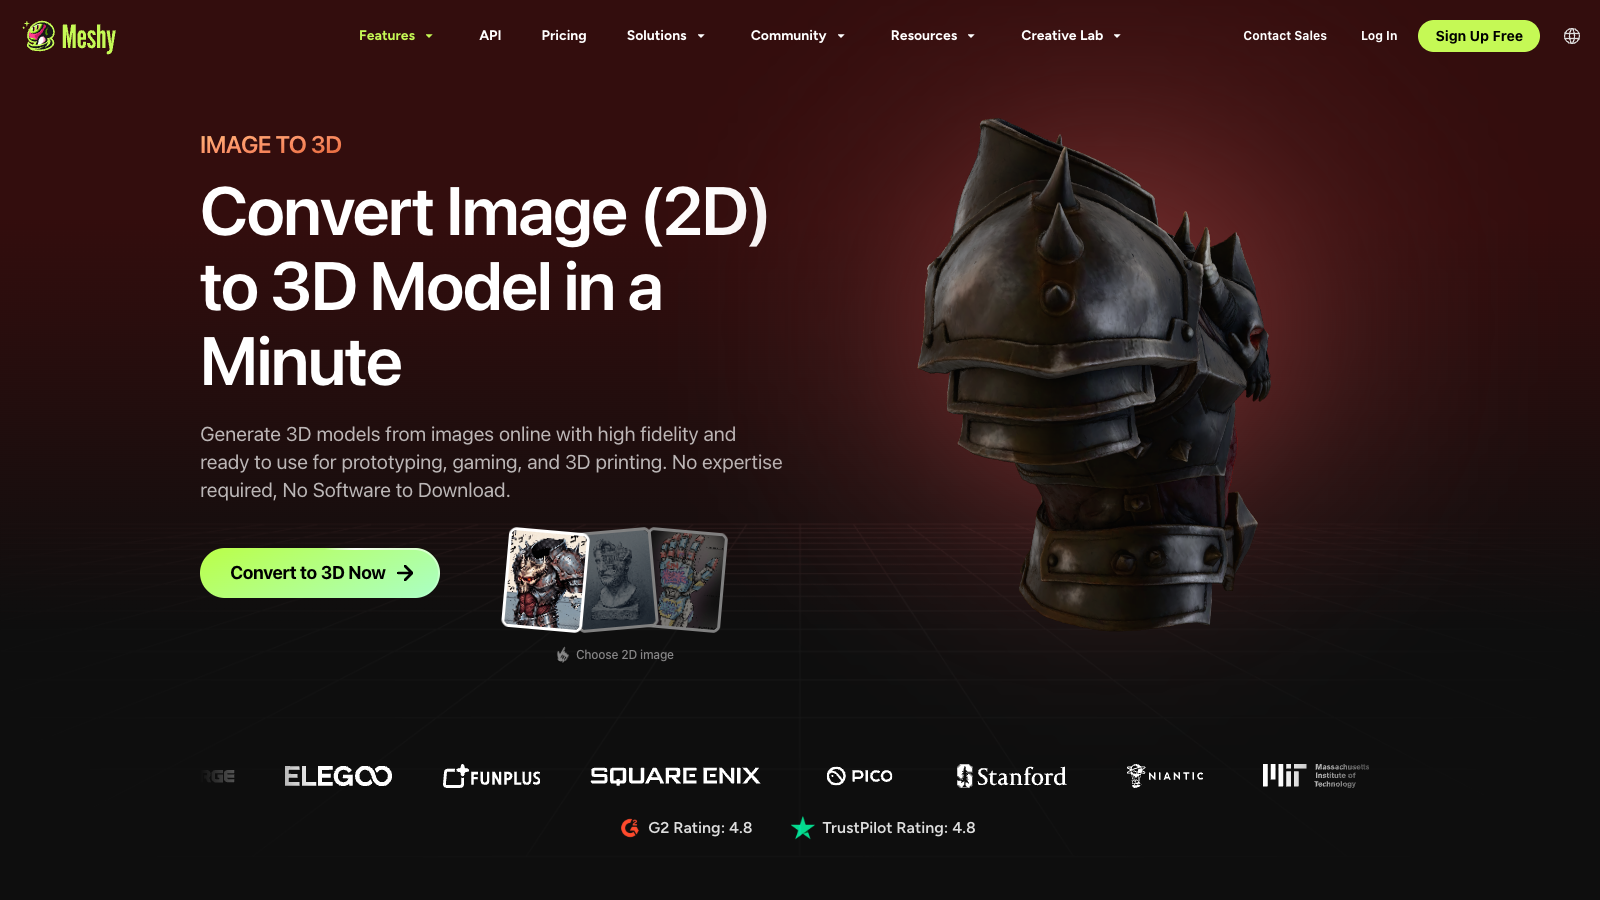
Choose one representative object, save the exact input, generate a candidate, and inspect the exported model inside your normal slicer. Record whether it is acceptable, repairable, or rejected. This turns the tutorial into a repeatable evaluation instead of an unverified promise about output quality.
Difficulty depends on your familiarity with 3D files and slicer checks. No completion time is stated because this site has not measured generation, retries, download, repair, or slicing for this workflow.
A single simple object such as a dice tower, a tray, a planter, or a terrain prop that is easy enough to evaluate after one slicer pass.
Choose a prompt or reference image that represents the work you plan to do. Save the exact input and settings so the test can be repeated.
Generate a candidate using Meshy's documented workflow. Do not infer print quality from the front-facing preview alone.
Download the best candidate and open it in Bambu Studio.
Inspect wall thickness, bottom stability, overhangs, and support burden. Repair or scale only if the model is already close.
Slice the model and make a real print decision. If it still looks weak, regenerate instead of forcing a bad first pass into production.
Keep the input and settings with each candidate so retries can be compared instead of remembered.
The slicer is the checkpoint for scale, walls, supports, and whether the file deserves a print.
Keep rejected and repairable outcomes in the count so the buying decision reflects the full test.
At the end, record whether you would print the file, repair it, or reject it, plus the reason and time spent. Repeat with more than one representative input before treating the result as evidence for a subscription.
Once you can repeat this process with two or three real ideas, read the pricing page. If you are still unsure whether Meshy is the right fit at all, move to the alternatives page instead.
When pricing matters More buying FAQThere is no reliable time estimate without a measured run. Generation, retries, download access, inspection, and repair time vary by input and account.
Not necessarily. The tutorial is designed so you can judge the workflow first. Paid plans only matter once you want more volume, API access, or faster repeated use.
Skipping the downstream check is the avoidable mistake. A good preview does not establish wall thickness, scale, supports, or print readiness; verify those in your slicer.
It worked if you end with a model that slices cleanly enough to make a real print decision, even if you still choose to regenerate or tweak it.
Read the workflow page if you want the repeatable version of the process, pricing if you are using it often, and FAQ if you still have buying questions.